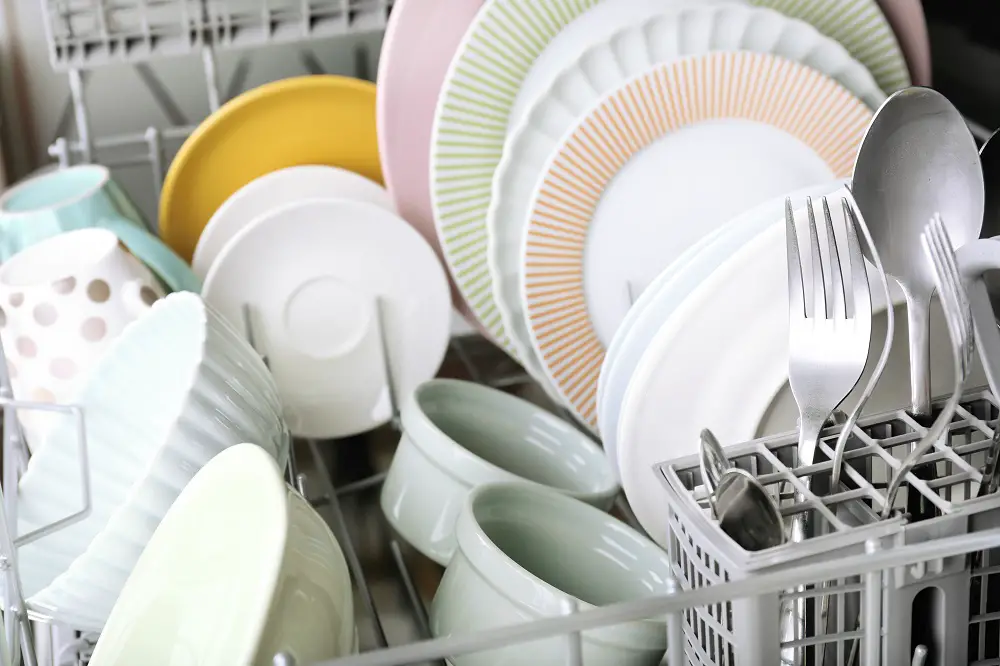
Among the many reasons that make a portable dishwasher an excellent choice is its ease of setup. Unlike built-in dishwashers that require permanent hook-ups, portable ones don’t.
But then, how to hook up a portable dishwasher?
Portable dishwashers – freestanding or countertops, have an inlet hose that can connect to the kitchen sink faucet and a drain hose that can drain into the sink. These connections must be set up for each use and can be disconnected after the wash cycle.
Here’s more information on the different connection types for portable dishwashers, the tools required, the steps for connection, and typical installation problems.
Table of Contents
Different Connection Types
Portable dishwashers come as freestanding models or countertop models.
You can place a countertop dishwasher on the kitchen counter, close to the sink, and always keep it connected.
On the other hand, you must roll a freestanding dishwasher near the sink for each use and set up the hose connections.
Here are the different connection types to supply water for portable dishwashers:
- Sink Faucet Connection
You can connect your portable dishwasher directly to the kitchen faucet using a suitable adapter.
The adapter replaces the faucet’s aerator and connects the dishwasher’s water inlet hose.
Alternatively, a unicouple connection can connect to the sink faucet with an adapter. The dishwasher draws water from the faucet during the wash cycle through the inlet hose or unicouple connection.
A sink faucet connection can be used for both freestanding and countertop dishwashers.
Did you know? Even pull-out Faucets can be connected to a portable dishwasher.
- Water Tank
Certain countertop dishwashers have a built-in water tank that you can fill manually.
Such models have a pump that will draw water from the tank during the wash cycle.
However, most models with a water tank will also have the option of connecting the inlet hose to a sink faucet. You can use whichever seems more convenient to you.
- Direct Plumbing Connection
You can permanently connect your portable dishwasher to your plumbing system with a T-connector or Y-connector under the sink.
This is a useful option if you move into a new home with the space for a built-in dishwasher.
While it requires a more permanent installation, the dishwasher can connect directly to the hot water supply line. A dishwasher conversion kit will come in handy to convert your portable dishwasher to a built-in.
Preparation and Tools
When hooking up your portable dishwasher for the first time, there are a few things you must keep in mind and a few tools and items you must keep handy.
Before you get started, it’s essential to read the manufacturer’s instructions and guidelines first. This will ensure that you’re aware of the recommended installation procedures.
Next, you must clear out the area where you intend to place your dishwasher. Maintaining a clear space will allow for ease of installation.
Ideally, you must place your portable dishwasher close to the sink to access the faucet. While you can roll your freestanding dishwasher and keep it close to the sink, it’s different with a countertop model.
A countertop dishwasher is typically placed on a dedicated spot on the kitchen counter close to the sink.
Techjut tip: Measure the height between the counter and overhead cabinets (if applicable) to ensure you purchase a countertop dishwasher that can be easily accommodated in the available space.
Also, check our size guide to avoid common mistakes.
Then, you must gather all the necessary supplies and tools for the installation process. Here’s a list of the items that will come in handy:
- An adjustable wrench
to tighten or loosen connections - A screwdriver
to secure panels or access certain components (depending on the dishwasher model) - Pliers
to tighten or loosen hose clamps or other fittings - A bucket or towel
to catch any water spills during the installation process - Teflon tape
for a watertight seal on threaded connections - Clamps
to prevent leaks or secure hoses in place - Any additional parts or adapters specified in the manual
Another important preparation step is to verify that your sink faucet has a removable aerator. Most portable dishwashers connect to the faucet with an adapter.
If your faucet has no removable aerator, refer to the instruction manual to explore alternative options.
Check the hose lengths to ensure a comfortable connection between the dishwasher and the sink. If the hose lengths don’t suffice, look into hose extensions.
Ideally, the hose must run between the appliance and the sink with as few bends as possible.
Finally, ensure an electrical outlet that serves the electrical requirements mentioned in the manual is within reach of the dishwasher’s cord.
Step-By-Step Guide
Upon gathering the tools and supplies and getting all the necessary preparation done, here’s a step-by-step guide for how to hook up a portable dishwasher:
1. Position your portable dishwasher
close to the sink and ensure it is level.
2. Loosen and remove the aerator
with a pair of pliers from the spout of the kitchen sink faucet. You can also do this with your hands instead of using any tools. Keep the aerator in a safe place for use later.
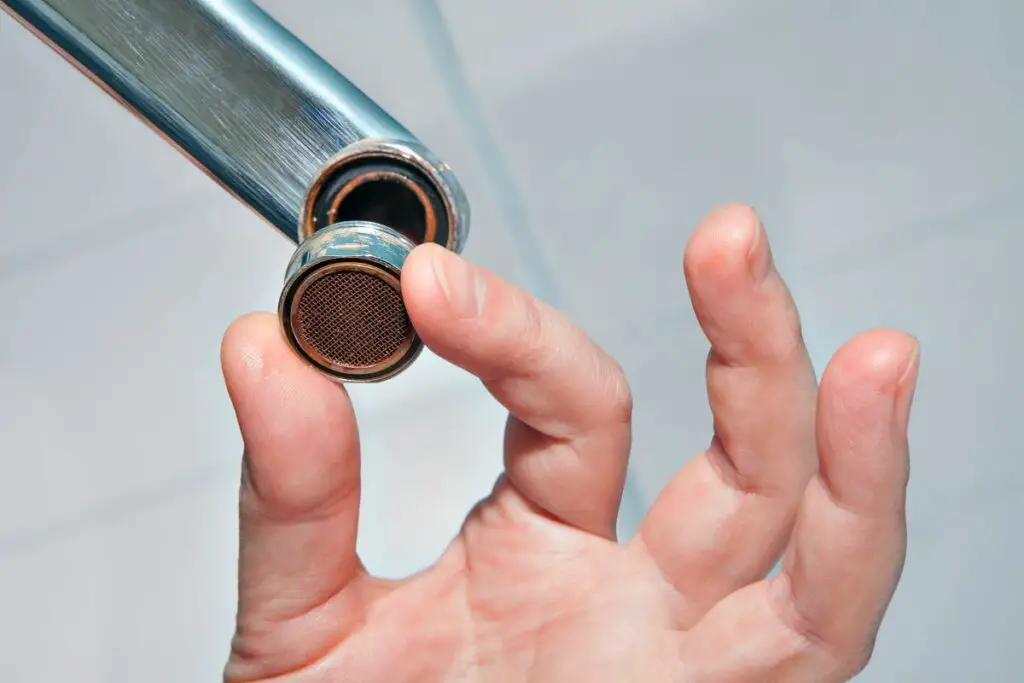
3. Screw the faucet adapter
provided with your portable dishwasher to the threaded region of the faucet spout.
Use pliers or an adjustable wrench to tighten the adapter. Follow the manufacturer’s instructions for more information on the specific adapter and faucet type.
4. Connect the water supply hose to the faucet adapter.
If it’s an individual inlet hose, ensure the connection is tight enough but not overly tight since it may cause damage. Use a clamp to secure the connection if it is provided.
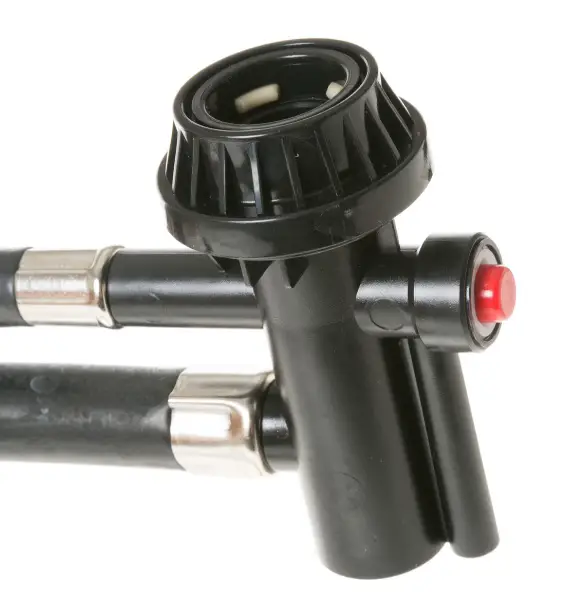
On the other hand, if it’s a unicouple connection, press down the collar ring. Slide the unicoupler collar onto the faucet adapter, then release the collar to attach the coupler in place securely.
5. Attach the other end of the water inlet hose to the dishwasher’s inlet valve.
Place a bucket or towels beneath the connection point to catch any leaks. Consider using a clamp to secure the connection. Keep in mind not to over-tighten the connection.
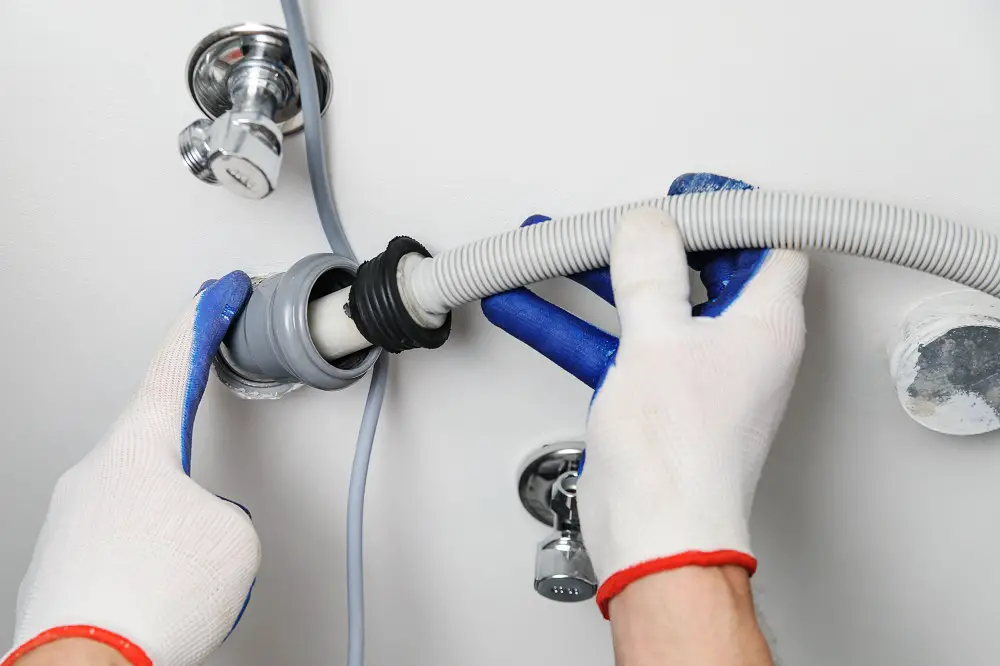
6. Connect the drain hose
once the inlet hose connections are done. One end of the drain hose must be connected to the dishwasher’s drain outlet.
7. Position the other end of the drain hose (for an individual drain hose instead of a unicouple connection) to drain water into the kitchen sink.
Ensure proper positioning without any kinks and keep the hose elevated or looped up as much as possible to prevent any backflow of water.
Use a suction clamp to hold the drain hose in the sink and avoid it moving out due to the water pressure in it.
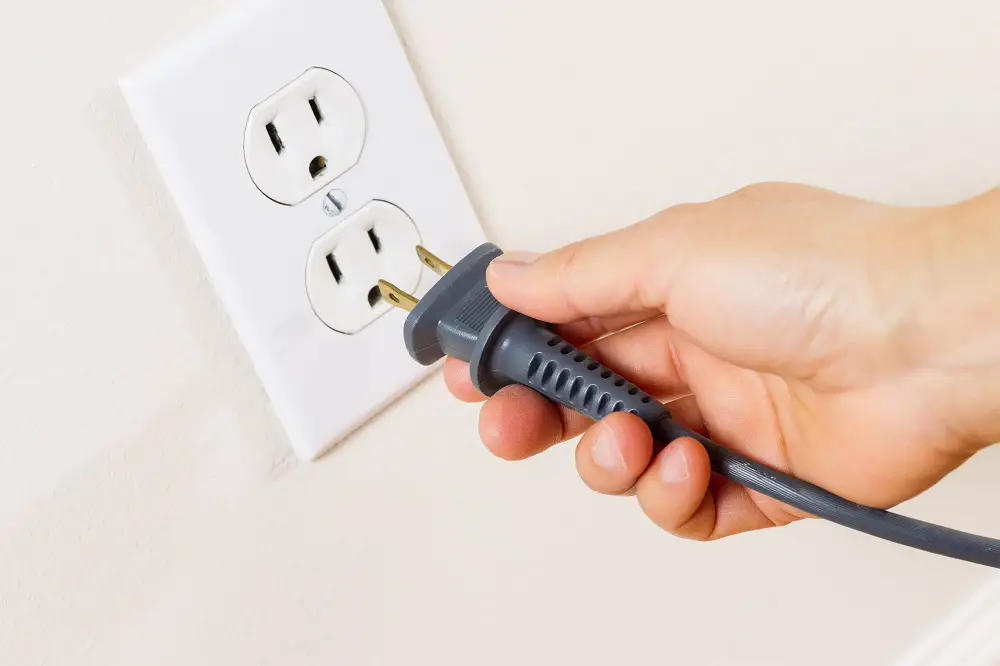
8. The electrical connection
is the last connection in hooking up a portable dishwasher. Plug in the dishwasher’s power cord to an outlet that meets the recommended electrical requirements.
9. Check for leaks
after all the connections are taken care of. Turn on the faucet and check for any water leaks at both ends of the hose. Tighten the connections at the point of leaks or use Teflon tape to prevent leaks.
10. Run a quick test cycle
and look for leaks at the dishwasher’s inlet valve and drain connection.
Typical Installation Problems
Here are some problems that may occur during the installation or hook-up of a portable dishwasher:
- Faucet Compatibility
Connecting a portable dishwasher to a faucet of unconventional shape or without a removable aerator will be challenging. You must consider alternative options or modifications to hook up your appliance.
- Insufficient Hose Length
When you cannot place the dishwasher close to the sink for use owing to lack of space or any other inconvenience, the inlet and drain hose lengths may not suffice for setup. Hose extensions or longer hoses are a good alternative in such cases.
- Leaks
Connections that aren’t tightened securely or overtightened can result in leaks. This includes the faucet adapter, inlet valve, and drain outlet. Damaged or improperly installed washers, O-rings, or unicouplers can cause leaks.
- Drain Hose Positioning
The drain hose must be hooked up without kinks, loops, or obstructions. A hose that’s not positioned appropriately can cause water to back up and cause drainage problems.
- Water Supply Issues
Insufficient water supply or water pressure at the faucet will result in the water pressure not meeting the manufacturer-recommended requirement. This will impact the dishwasher’s performance too.
- Electrical Issues
If there are no electrical outlets close to where you’ll be operating your portable dishwasher, you’ll have to consider alternatives, like an extension cord.
- Stability and Leveling
Portable dishwashers must be placed on a stable and level surface to avoid any operational issues. If your dishwasher isn’t level, it may result in vibration, noise, or movement during use. Adjust the leveling feet of a freestanding dishwasher or use additional support to keep the appliance stable.
Conclusion
Portable dishwashers, freestanding or countertops, don’t require permanent plumbing and are easy to set up and use.
The different water supply connection types for these dishwashers include a sink faucet, a permanent connection, or a built-in water tank.
With the proper tools and supplies, you can easily hook up a portable dishwasher and ensure it operates efficiently.