A tumble dryer with condensation buildup after a drying cycle or the presence of moisture in the surrounding environment of the appliance implies an issue with the dryer that needs fixing.
Besides increasing the relative humidity in your home, the excess moisture causes clothes to remain damp, requiring longer or multiple cycles to dry; this also increases your energy bill.
The main reason for condensation from a tumble dryer is a lack of ventilation – a full lint trap, clogged vent system, incorrect vent positioning, or no vent flap or booster fan installed causes condensation buildup.
The fix is often straightforward and might not need a technician. Let’s look into how to stop condensation from the tumble dryer.
Table of Contents
Why is My Tumble Dryer Causing Condensation?
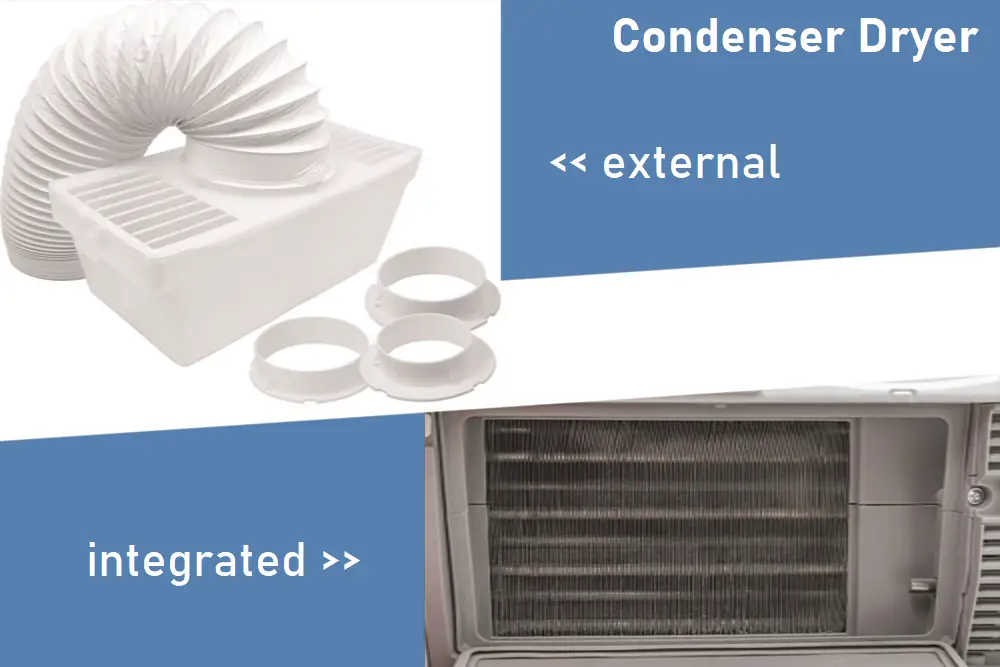
While a dryer should exhaust hot air and moisture through the dryer vent, one of the following reasons could cause a condensation problem.
Improper Dryer Placement
Placing a dryer in an enclosed space causes the trapping of heat, leading to excess moisture and condensation. Also, if the dryer’s surrounding environment is too cold (like a garage), the hot air and cold air clashing will cause condensation.
Use of Window to Ventilate
Homes that don’t have an exhaust system run the ventilation hose out of the window. This may lead to condensation rising back up and through the window.
Incorrect Installation
Improper installation or use of incorrect materials can cause condensation problems. A dryer’s exhaust system duct, made of plastic instead of metal, mixes with the lint and creates an obstruction. A bent duct increases the likelihood of a blockage, causing circulation issues.
A long exhaust duct causes heat to take longer to exit the exhaust system, increasing temperature and creating excess moisture and condensation.
If there is a condensation buildup inside the dryer, it could be because of any of the following reasons:
Lint Buildup
When the trap is covered by lint densely, the dryer cannot expel the moist air generated during a drying cycle. Once the dryer drum cools, condensation forms inside the drum.
Lint captures moisture and can deposit into and obstruct the exhaust system.
Clogged Vent System
Trapped lint and debris buildup can occur in the dryer vents – pipes and ducts. This prevents hot air from escaping; the moist, warm air that remains inside the vent tube gradually turns to condensation on cooling.
When the exhaust system is obstructed, moisture builds up in the duct and spills back into the tumble dryer.
Incorrect Vent Positioning
A vent pipe going up through the attic creates more heat that returns to the dryer. A vent that goes through an outside wall or under the house requires a longer pipe, leading to more condensation.
No Vent Flap or Booster in the Vent System
A dryer vent flap opens for the hot air to escape and shuts when the drying cycle is over. A stuck or blocked vent flap can cause condensation problems in the dryer.
8 Steps to Stop Condensation From a Tumble Dryer
Now that you know the reasons for condensation from a tumble dryer, here are the steps to fix the problem. Before proceeding with these steps, ensure you’ve disconnected the dryer from the power source.
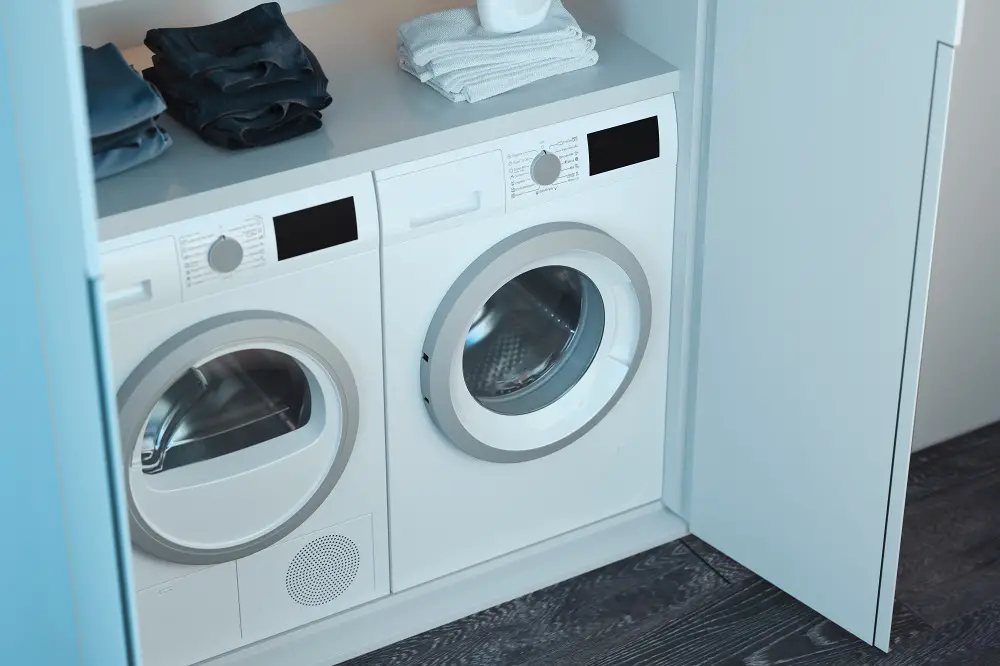
1) Relocate the Dryer

If the dryer is placed in a cupboard, either move it to a new location or ensure sufficient ventilation while running by leaving the cupboard door open.
Installing an extractor fan helps capture warm air and dispense it through a vent.
2) Proper Installation and Materials
Using suitable materials and installation will prevent condensation from the dryer.
Use a Heavy-Duty Metal Duct
A plastic hose loaded with lint is a fire hazard when hot air exhausts from the dryer’s vent. In addition, vinyl and plastic hoses could deform over time, resulting in water buildup and condensation in the dryer.
Choose a semi-rigid or heavy-duty metal like aluminum or galvanized steel for the duct and tin or aluminum foil to connect the duct to the dryer vent.
Reduce the Duct’s Length
Shorter ducts have lesser chances of water pooling and causing excess condensation in your dryer. Ideally, install the duct from the dryer vent to the nearest wall and out for the least possible length.
Change the Duct Alignment
Running the duct horizontally from the dryer vent to the exterior wall is recommended. At the most, ensure the least turns and bends (elbows) in the duct’s alignment. It is best to avoid vertical climbs or descents for dryer ducts.
Insulate the Duct in Cold Areas
Consider insulating the duct if your dryer’s duct runs through a relatively cold area, like a cold attic or other unheated spaces. It can stop unexpected condensation in the duct and dryer, particularly in wintertime.
3) Clean the Entire Vent Trap and Duct
It’s good practice to empty the vent after each drying cycle. However, if you clean the vent once every three months, you could choose to clean the entire duct once or twice a year.
The cleaning routine must be based on the frequency of dryer use, its efficiency and loads, and the duct type, alignment, and length. You could use a vacuum cleaner, exhaust vent brush, or leaf blower to clean the dryer duct and vents.
Start by cleaning the duct or vent hose at the dryer’s port, followed by the angular hose or elbow, the vent cap or cover, and the inside of the duct at the other end.
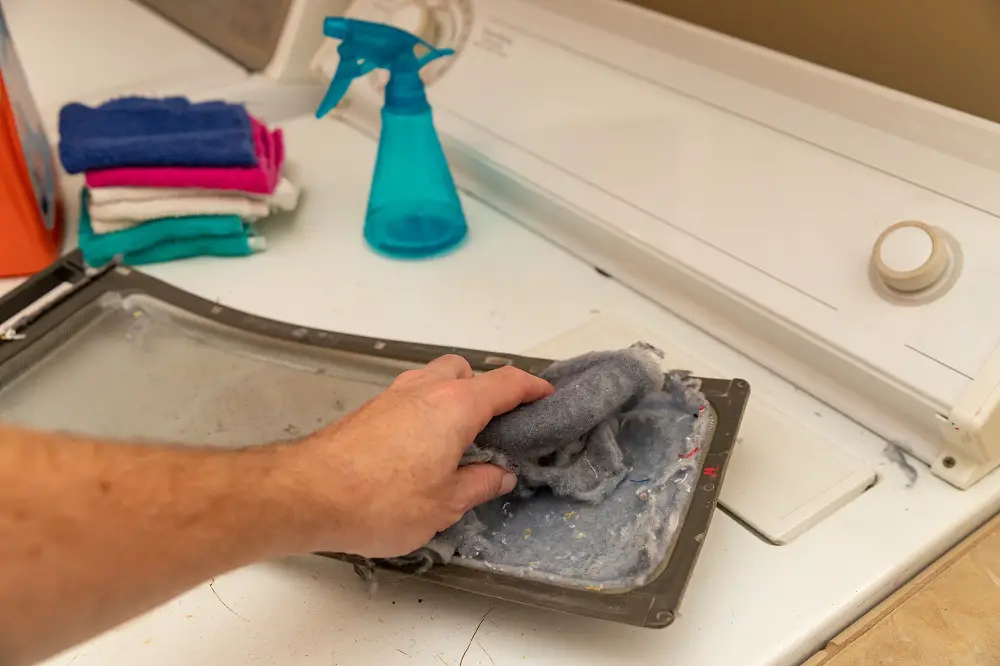
4) Clean the Lint Filter
A common cause of the dryer not heating or causing condensation is a loaded lint filter. Cleaning the lint filter or screen after each load is recommended. The lint filter or screen must be thoroughly cleaned with soap, water, and a soft-bristle brush monthly or quarterly.
You should check our detailed articles about How To Service A Tumble Dryer.
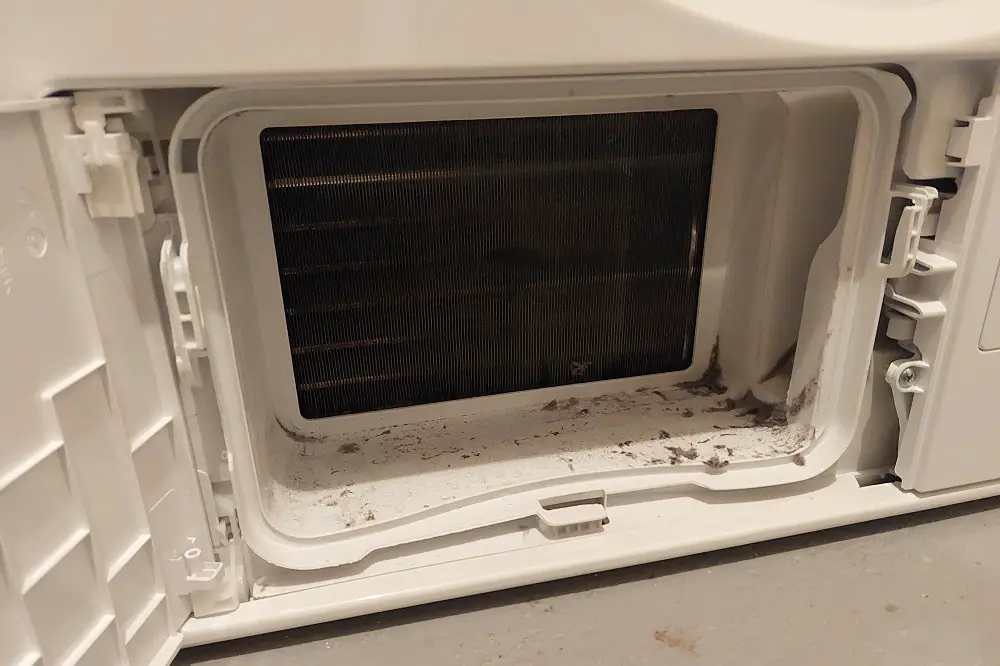
5) Clear the Lint Trap
The lint filter or screen is in the lint trap. Once you’ve removed the filter, vacuum the lint trap as and when necessary. For any lint buildup in the dryer, like the door gaskets or some other rigid lint or particles, loosen all the gunk with a dry brush and vacuum for a clean finish.
6) Use Foil Tape on Ducts
Screws on the duct could retain moisture and minor lint buildup. They may also create air gaps, leading to more condensation. Use aluminum foil tape instead of screws on the ductwork and opt for clamping systems instead of drilling holes into the metal pipe.
7) Consider a Vent Booster Fan
While a booster fan isn’t necessary for short ducts, a dryer or vent booster fan may be needed if the dryer duct is 25 feet (7.62 m) or longer. A typical exhaust fan wouldn’t be handy owing to hot exhaust and the possibility of lint buildup.
8) Clean the Outdoor Vent Cap
A blocked or clogged outdoor vent cap could cause condensation in your dryer despite maintaining a clean duct and vent. While dryer vent covers or flaps are required to keep birds and critters out of the duct, they eventually get blocked with lint and other debris. Therefore, it’s essential to clean the outdoor vent cap regularly.
Any condensation problem with a tumble dryer must be remedied sooner; the excess moisture could cause mold and musty smells. This leads to a whole new set of problems. It comes down to your appliance being able to vent hot air and moisture without obstructions.