Smart TVs connect to the internet much like computers and smartphones. When you connect your TV, it receives a unique set of numbers—an Internet Protocol (IP) address—that identifies it on your network.

TV owners have a few ways to check and control their device’s network identity. You can find your TV’s current address, change it if you need to, or even hide it from prying eyes for a little extra privacy.
Table of Contents
Key Takeaways
- Smart TVs grab an IP address automatically when they hop on your Wi-Fi or wired network.
- You can spot your TV’s IP address through the TV’s settings, your router, or with a phone app.
- It’s possible to tweak or mask your TV’s IP for privacy or troubleshooting.
Do Smart TVs Have IP Addresses?
Yep, they do. Smart TVs get IP addresses just like your laptop or phone. Each TV needs that digital tag to get online and stream anything.
How Smart TVs Get IP Addresses
Your home router hands out IP addresses to devices like smart TVs. The router acts as the traffic cop between your gadgets and the wider internet. As soon as you set up your TV, the router assigns it a fresh IP address.
Why Smart TVs Need IP Addresses
Smart TVs use these addresses to:
- Stream shows from Netflix, Hulu, and others
- Download updates
- Talk to other gadgets in your house
- Browse the web (if your TV lets you)
IP Address Structure
Your TV’s IP address has two pieces: the network part, which points to your local network, and the host part, which identifies your TV itself. So, 192.168.1.25 means “192.168.1” is your home network and “25” is your TV’s number.
Dynamic vs Static Addresses
Most TVs use dynamic addresses that change now and then. Some folks prefer static addresses that never change. You can set this up in your router’s settings if you want.
Why Do Smart TVs Have an IP Address?
They need one to talk to the internet and other devices. It’s like a mailing address for your TV—without it, nothing gets delivered.
When you pick a Netflix show, your TV sends a request out to Netflix’s servers. It’s basically saying, “Hey, send me this episode.” Netflix checks your TV’s IP address to know where to send the video back.
Without an IP address, streaming just wouldn’t work. Services like Netflix, Hulu, or YouTube wouldn’t know where to deliver content. There are billions of devices out there, so every one needs its own address.
Smart TVs rely on IP addresses for a bunch of things:
- Streaming from platforms like Netflix and Disney+
- Downloading updates or new apps
- Connecting to other home devices
- Accessing online stuff like news or weather
Tech support teams often use your TV’s IP address to help you fix streaming problems. It’s their way of checking if your TV’s actually online.
IP addresses can change. If you swap routers or use your phone’s hotspot, your TV will probably get a new address. That’s normal—it all happens in the background.
The IP address can reveal a bit about your TV’s location, too. It might show stuff like:
| Information Type | What It Shows |
|---|---|
| City | General area where TV is located |
| Zip Code | Local postal region |
| Area Code | Phone number region |
| Internet Provider | Company providing internet service |
This isn’t pinpoint-accurate. It just shows the area near your ISP’s equipment, not your actual street address.
How to Locate Your Smart TV’s IP Address
Knowing your TV’s IP address comes in handy for network troubleshooting or managing your devices. There are a few ways to find it, depending on what you’ve got nearby.
Locating the Address Through Your Remote Control
Most modern smart TVs let you check network details right on the screen. This is usually the quickest way—especially if your TV’s not ancient.
Turn on your TV and make sure it’s connected to your router. Grab the remote and hit the menu button to open up the main menu.
Head to the network section. Look for options like:
- Network Status
- Network Settings
- Wi-Fi Direct
- Device Name
Check Network Status to confirm your TV’s online. Once you know it’s working, go to Network Settings.
The Network Settings menu usually shows:
| Setting Type | Description |
|---|---|
| IP Setting | How the IP gets assigned |
| IP Address | Your TV’s current number |
| Subnet Mask | How your network is split up |
| Gateway | Router details |
| DNS Setting | Where your TV looks up website names |
Your TV’s IP address should be right there—something like 192.168.1.17.
Using Built-in Applications for IP Discovery
If your TV’s main menu doesn’t show network info, try an app. A lot of streaming apps will display your network details somewhere in their settings.
First, make sure your TV’s hooked up to your network (Wi-Fi or ethernet). Open up any streaming app—Netflix, Hulu, Disney+, whatever you’ve got.
Hop into the app’s settings. Look for sections called Network Info, Device Information, or Support. Sometimes it’s under wireless connection details.
The exact spot depends on your TV brand, but you’ll either see a popup with your IP address or find it buried in a sub-menu.
Discovering Your TV’s IP Without a Remote
If you’ve lost your remote (happens to the best of us), network scanning tools like Angry IP Scanner can help you out.
What to do:
- Turn off other TVs on your network
- If you have devices from the same brand, power those down too
- Leave only the TV you want to find turned on
Install a network scanning app on your computer and fire it up. It’ll scan your network and show a list of connected devices.
Look for your TV’s manufacturer name. If you see more than one, try pinging each entry or turning your TV off and on to see which one disappears and reappears.
The scanner shows your TV’s IP address, ping time, and open ports right next to the manufacturer info.
Mobile Phone IP Detection Methods
Phone apps like Fing make it easy to spot devices on your network. Works for both Android and iPhone.
Download a network scanning app. Connect your phone to the same Wi-Fi your TV uses.
Open the app and check the Devices list. You should see your TV’s brand, plus its IP address.
If you see a bunch of devices from the same brand, try turning your TV off and on or running a ping test to figure out which one is yours.
Router-Based IP Address Discovery
Your router’s admin panel lists everything connected to your network—including your TV.
Open a browser and go to your router’s login page. The IP address is usually printed on a sticker under the router—type that into your browser.
Log in with your admin username and password. Look for a section called:
- Connected Devices
- Device List
- DHCP Client List
- Network Map
Scroll through until you spot your TV’s brand. Some routers show generic names like “localhost,” so you might need to do some detective work.
Heads up:
- Some routers only show basic info
- Generic names might make things tricky
- Every router’s interface looks different
If you’re unsure, disconnect and reconnect your TV while watching the device list to see which entry comes and goes.
How Do I Hide My TV IP?
Hiding your TV’s IP address can boost your privacy and let you access shows from other countries. When your TV connects online, apps grab your IP and sometimes share it with advertisers or streaming platforms. It’s a bit creepy, honestly.
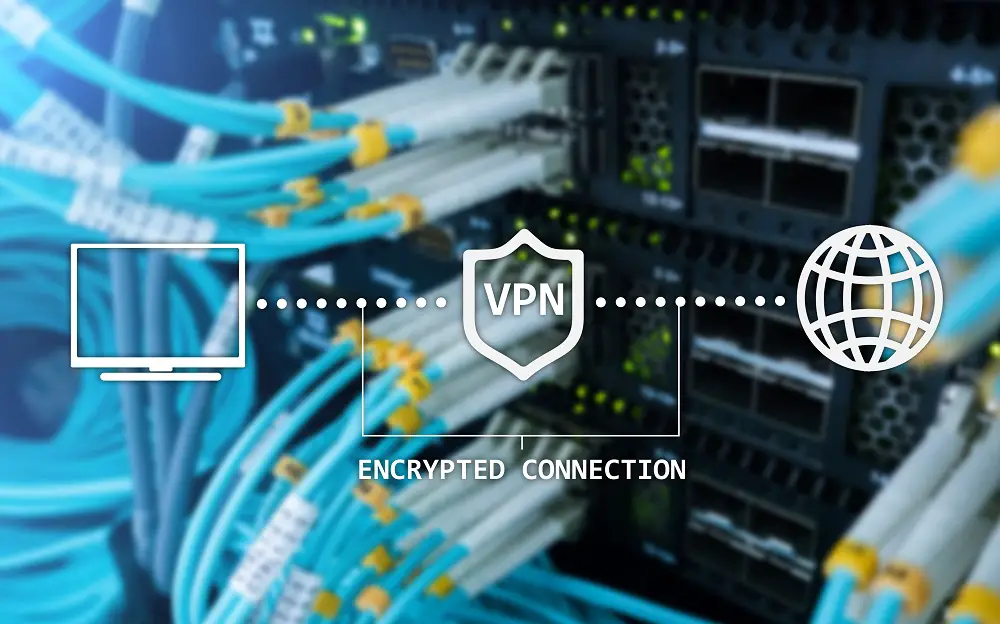
The best way to mask your IP is with a Virtual Private Network (VPN). A VPN encrypts your connection and gives you a new IP address from somewhere else.
Setting Up VPN Protection
Here’s how you get a VPN running on your smart TV:
Account Creation
- Check our article about the best VPNs for Smart TVs
- Sign up on your computer or phone
- Choose a free plan or pay for more features
TV Preparation
- Turn your TV on
- Clear out stored data from streaming apps
- Wipe any cached info that could mess with the VPN
Installation Process
- Go to your TV’s app store
- Search for the VPN’s app
- Download and install it
- Log in with your new account
Server Connection
- Open the VPN app
- Pick a server location
- Connect and wait for confirmation
Location Benefits
Choosing different servers gives you access to content from other countries. For example:
| Server Location | Content Access |
|---|---|
| United States | American streaming catalogs |
| United Kingdom | British television programs |
| Canada | Canadian media content |
| Australia | Australian streaming services |
Additional Protection Methods
Besides VPNs, some people try proxy servers—these hide your IP, but don’t encrypt your data. The Tor network is another option, though it’s much slower and probably overkill for streaming.
Some TVs have privacy settings that limit data collection. It’s worth poking around in your network settings to see if you can tweak anything.
If you want to protect your whole house, set up a VPN on your router. That way, every device—including your TV—gets covered. Many routers let you do this, but the setup can be a little fiddly.
ISPs can still see general patterns, even with a VPN. But VPN encryption keeps the details of what you’re watching hidden from them.
Modifying Network Settings on Smart Television Models
You can adjust your smart TV’s network settings right from the built-in menu. Most big-name TVs let you set a manual IP address if you want more control.
Samsung Television Models
Samsung TV owners can get to network settings right from the main menu. Just head to the Network section and pick Network Settings from the list.
The IP settings menu lets you switch from automatic to manual configuration. Once you select manual, you’ll be able to type in your own IP address and DNS values.
After you confirm those changes, the TV uses your new settings. It’s pretty straightforward, though if you miss a number, you’ll probably need to double-check.
Panasonic Smart TVs
With Panasonic televisions, you’ll need the remote to pull up the Setup menu. Go to the Network section—everything you need for connectivity lives there.
Inside Network Settings, you’ll spot options for both IP address and DNS. The system asks you to turn off automatic DNS before it lets you make edits.
Once you’re in Static IP Configuration, you can punch in the network address you want. It’s a bit more hands-on, but not too tricky if you know your numbers.
LG Television Units
LG’s smart TVs tuck network settings away in the main Settings menu. You’ll need to pick the Network option, then dive into Wi-Fi connection settings.
Advanced Wi-Fi settings are where you’ll find manual configuration. Uncheck automatic, and now you can fill in your custom IP info.
Hit the Connect button when you’re done, and the TV tries your new setup. Sometimes it takes a second, but you’ll see if it worked right away.