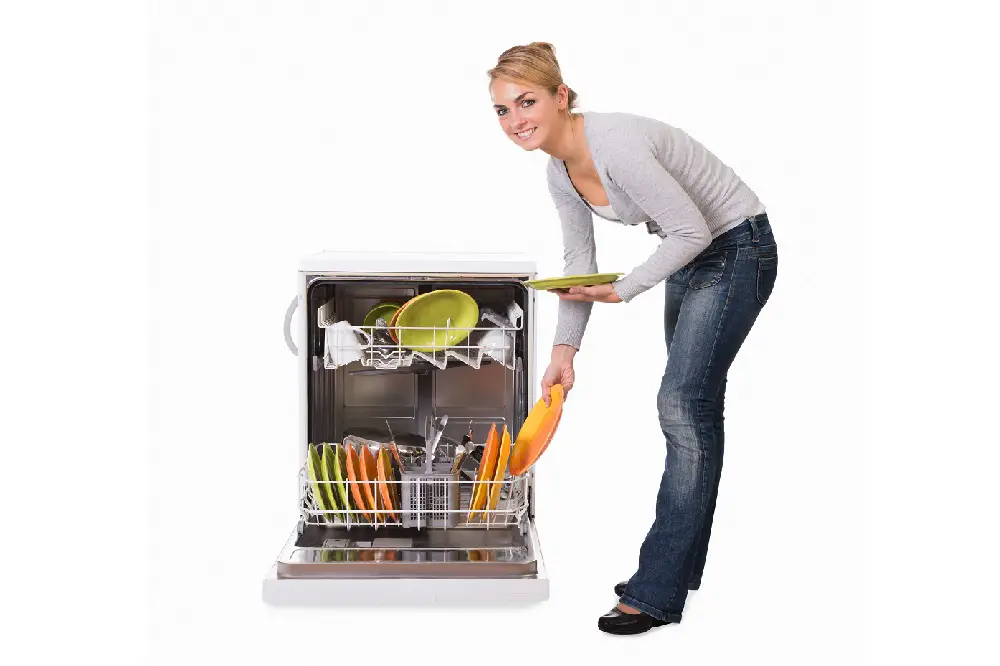
Countertop dishwashers are conveniently small appliances that can sit on a kitchen counter, rolling cart, or anywhere else with easy access to the sink. A countertop unit requires a power supply and a water supply from the kitchen faucet, and it drains into the kitchen sink.
Hooking up countertop dishwashers isn’t as complicated as built-in models. However, you must ensure sufficient counter space next to the kitchen sink to place and connect the appliance.

Read on to understand how to hook up your countertop dishwasher in 6 easy steps.
Table of Contents
6 Easy Steps to Hook up a Countertop Dishwasher
Installing and using countertops is easy. Here’s a step-by-step guide to help hook up a countertop dishwasher and prepare it for use.
Materials Required
You won’t need many tools or equipment to hook up your countertop dishwasher.
Here’s a short list of what you’ll need:
- Channel-lock pliers
- A suitable faucet adapter
- Clamp or hook with a suction cup (for the drain hose)
Step 1: Place the Dishwasher on the Countertop
A countertop appliance needs access to a sink for water supply and draining. Clear up some counter space next to the sink and wipe it clean before you place your dishwasher.
Ensure the counter space is a flat-level surface.
Countertops, while compact, are typically 17”-20” high and 16”-22” wide; if the height between the counter’s work surface and the overhead shelves/cabinets is less than your countertop dishwasher’s height, you might have to keep it elsewhere.
Once you’ve checked out all the space and hook-up requirements, place the appliance on the counter.
Keep the electric line unplugged.
Techjut tip: Measure the dimensions of the counter next to the sink and the height of the overhead cabinets (if any) before you purchase a new countertop dishwasher to make for a convenient installation.
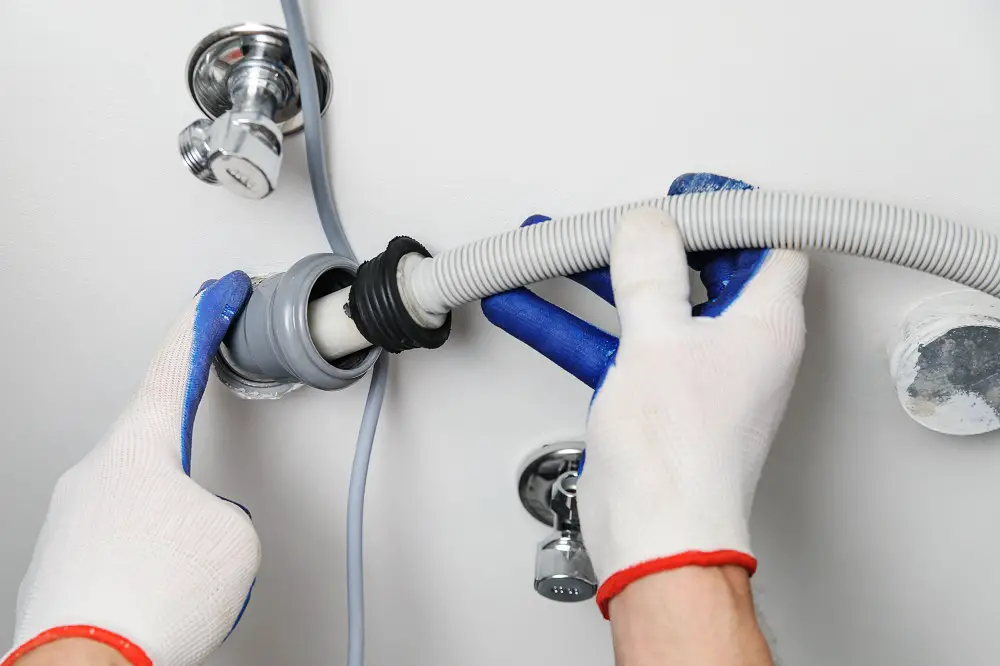
Step 2: Hook up the Water Supply
Apart from the power cable running out the back of the dishwasher, you’ll also see two connectors, a larger one with a threaded connection for the inlet hose and a smaller one for the drain hose.
Connect the inlet hose to the back of the dishwasher by aligning the two intake threads (the one on the dishwasher and the other on the inlet hose); rotate clockwise to fix it. Use pliers to tighten the connection (but not too tight).
Remove the faucet aerator, and use a suitable faucet adapter for the connection if necessary.
Next, thread the other end of the inlet hose to the kitchen faucet for a tight connection.
If your kitchen sink has a secondary utility outlet, connect the inlet hose to that instead of the main faucet.
Techjut tips:
- If you’re connecting the inlet hose to a faucet lower than the dishwasher, consider using a pump to maintain good water flow.
- If your dishwasher has a built-in water tank and you prefer filling it manually, you can avoid this step of connecting the inlet hose to a faucet.
- Avoid bends or kinks in the inlet hose between the dishwasher and faucet; it may lower the water pressure or cause damage to the hose.
Step 3: Position the Drain Hose in the Sink
The drain hose (the smaller of the two) drains the dirty water from the dishwasher. Connect the drain hose to the drain port at the back of the dishwasher, and use pliers to tighten the connection.
Place the other end of the drain hose in the sink.
Use a suction cup clamp to mount the drain hose in the sink securely (this prevents it from moving out of place and spilling water on the counter or floor).
Techjut tips:
- Avoid any high loops of the drain hose between the dishwasher and the sink.
It may cause some dirty water to flow back into the dishwasher. Keep it level or sloping downwards. - Keep the end of the drain hose a few inches away from the sink plughole.
This helps prevent it from submerging when the sink fills with dirty water.
Step 4: Open the Sink Faucet
Once all the connections are secure, open the water faucet.
At this point, you can check for leaks between the faucet and the dishwasher inlet port.
If the leak is at the faucet end of the connection, turn it off and tighten the fittings using pliers. Turn the faucet back on and check if the leak is fixed.
If the leak is at the dishwasher end of the connection, turn off the faucet and tighten the fittings. Turn on the faucet and check if the leak is fixed.
If the leak is at any point along the length of the hose, you likely have a damaged hose that needs replacement.
Leakages can be a huge problem. We have found 19 reasons a portable dishwasher can leak (and how to fix it).
Step 5: Plug in the Dishwasher
After you’ve ensured the fittings are leak-free, it’s time to plug the dishwasher into a power supply.
However, consider loading your dishes into the machine before plugging it in.
Step 6: Run a Cycle
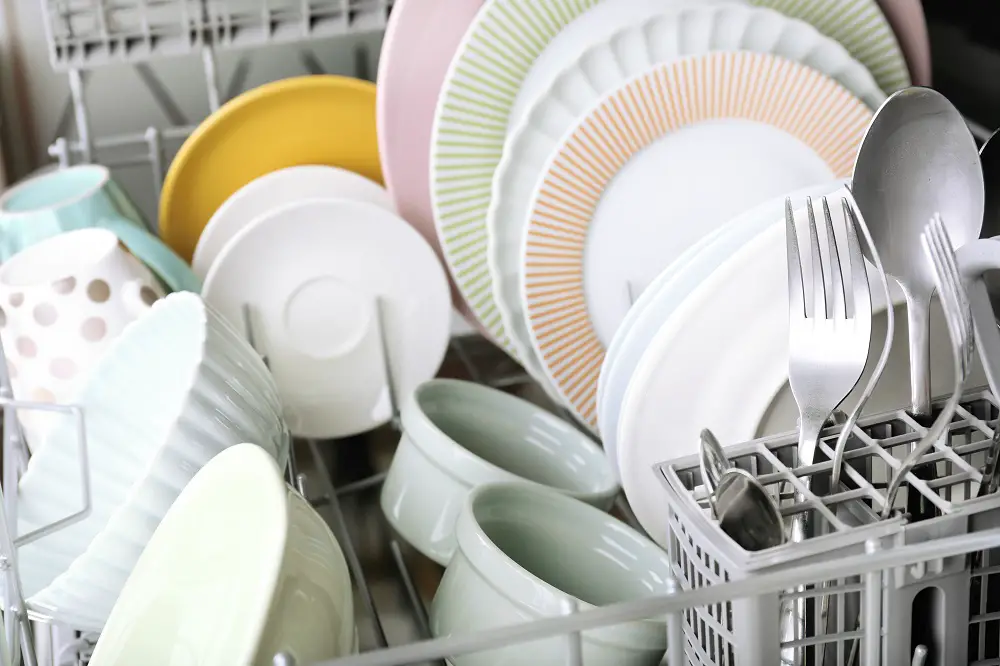
Load dishwasher soap into the soap tray, fill the salt tray (under the vessels rack) with salt, and press the power button to turn the dishwasher on.
Select the wash cycle of your choice based on your load and start the cycle.
Unsure about How to Use Countertop Dishwasher? You should invest a few minutes in reading our article.
Techjut tip: If it’s the first time you’re using your countertop dishwasher, keep an eye on it to ensure everything works fine and that there are no water leaks from the dishwasher or the hoses.
Problems When Connecting a Countertop Dishwasher
While a countertop dishwasher’s hook-up seems pretty straightforward, here are some problems you might encounter in the process:
- You’re extremely tight on space and don’t have any counter space next to the sink.
If so, you must place the dishwasher elsewhere (possibly below the sink) and adjust accordingly. - You don’t have an electrical outlet next to the sink.
Don’t panic; you can always use an electrical extension box to connect your countertop appliance. - You have a pull-out or pull-down faucet.
Consider unscrewing the faucet aerator and using a special faucet adapter to hook up the dishwasher’s inlet hose.
And read our guide that explains how to connect a portable dishwasher to a pull-out faucet. - You place the dishwasher far from the sink faucet, owing to the lack of space next to the sink.
For water supply, either use an extended hose (which could be inconvenient over time) or a model with a built-in water tank to manually fill the water. - If you place your dishwasher far from the sink, for draining purposes, either use an extended drain hose or place the end of the drain hose in a bucket or tub (that you’ll have to empty manually).
Consider This When Buying a Countertop Dishwasher
Here are some essential factors to consider concerning the installation before you buy a new countertop dishwasher:
- Dimensions
Measure the counter space you’re willing to dedicate for your dishwasher (including the space between the countertop and overhead cabinets). Only look for models with dimensions that the available space can accommodate.
- Pump
Look for a model with a pump if the water draining from your countertop dishwasher must go above the machine’s level (assuming you’ve placed the unit below the drain level.)
- Water Source
If you want a countertop dishwasher with a built-in water tank apart from the regular water inlet hose, narrow your search to such models.
The ones with a built-in water tank (that you can manually fill) are handy if you wouldn’t want your sink to be inaccessible while running a wash cycle in your appliance.
Conclusion
Countertop dishwashers are among the more handy appliances to own. Besides the portability and reduced space requirements, hooking up and using a countertop appliance is easy.
All you need to do is clear the counter space next to the sink and place the appliance, connect the inlet hose, position the drain hose, load the dirty dishes, connect to a power source, and select the appropriate wash cycle.
If you’re looking for a new countertop dishwasher, don’t forget to check for suitable dimensions for ease of installation.